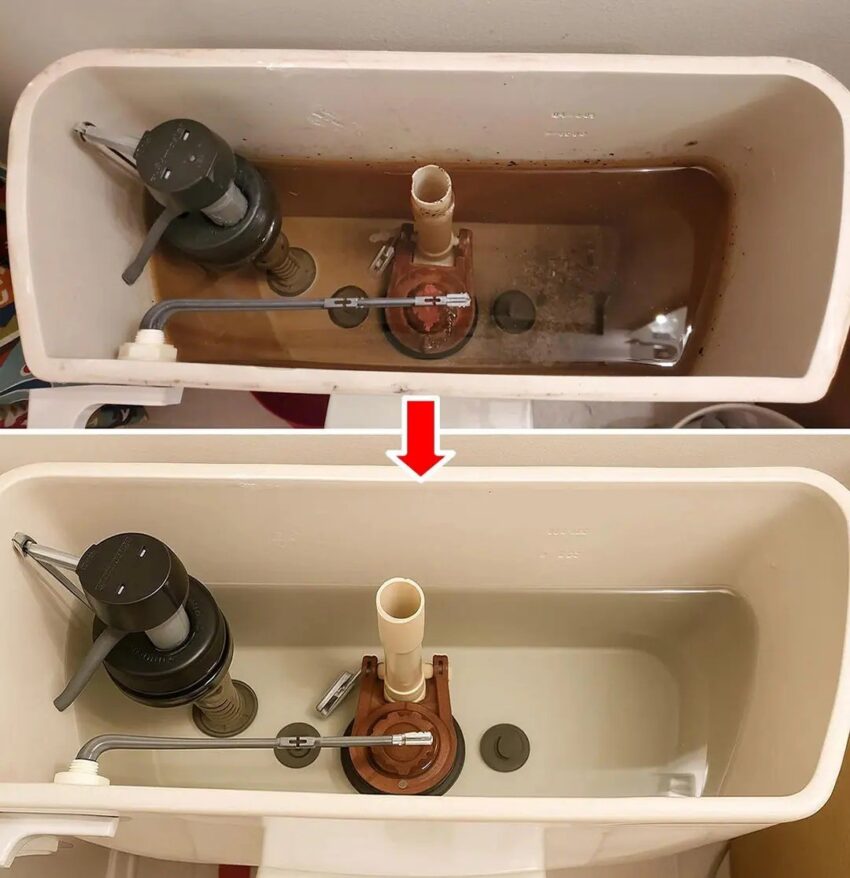
Cleaning your toilet flush (tank + bowl + handle) properly can make it look and work almost like new. Here’s a clear, effective method you can follow at home:
🚽 Step-by-Step Deep Cleaning Guide
1. Turn Off Water & Empty the Tank
- Locate the valve behind the toilet and turn it off
- Flush once to drain most of the water from the tank
2. Clean the Inside of the Tank
- Pour white vinegar into the tank (enough to cover stains or mineral buildup)
- Let it sit for 1–2 hours (or overnight for heavy buildup)
- Use a brush (not the same as your toilet bowl brush) to scrub inside walls and parts
👉 This helps remove limescale, rust, and bacteria
3. Clean the Flush Mechanism
- Gently wipe parts like the flapper, chain, and float
- Avoid harsh scrubbing—these parts are delicate
- If there’s buildup, use a cloth soaked in vinegar
4. Turn Water Back On & Flush
- Turn the valve back on
- Flush a few times to rinse everything out
5. Clean the Toilet Bowl
- Apply toilet cleaner or pour vinegar + baking soda
- Scrub thoroughly, especially under the rim
- Let sit 10–15 minutes, then flush
6. Polish the Outside (Make It Look New ✨)
- Wipe tank lid, handle, and seat with disinfectant
- Use a microfiber cloth for a shiny finish
- For stubborn stains, a paste of baking soda + water works well
⚠️ Important Tips
- Don’t mix bleach and vinegar (dangerous fumes)
- Avoid putting cleaning tablets inside the tank—they can damage parts over time
- Clean every 2–4 weeks to keep it fresh
💡 Extra Trick (For a “Like New” Look)
- After cleaning, dry surfaces and lightly buff with a clean cloth
- You can even add a drop of lemon to your wipe-down water for a fresh smell
If you want, I can share a super fast 5-minute daily toilet cleaning routine that keeps it looking clean all the time without deep scrubbing.
